在这个移动互联盛行的时代,蓝牙聊天App的需求十分广泛。其中,UI界面设计尤为关键,它直接关系到用户体验的好坏。这项工作细致入微,需要多种代码的紧密配合,才能设计出既美观又实用的界面。


项目初始设置
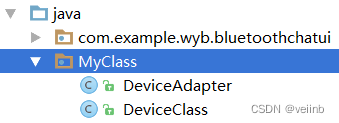
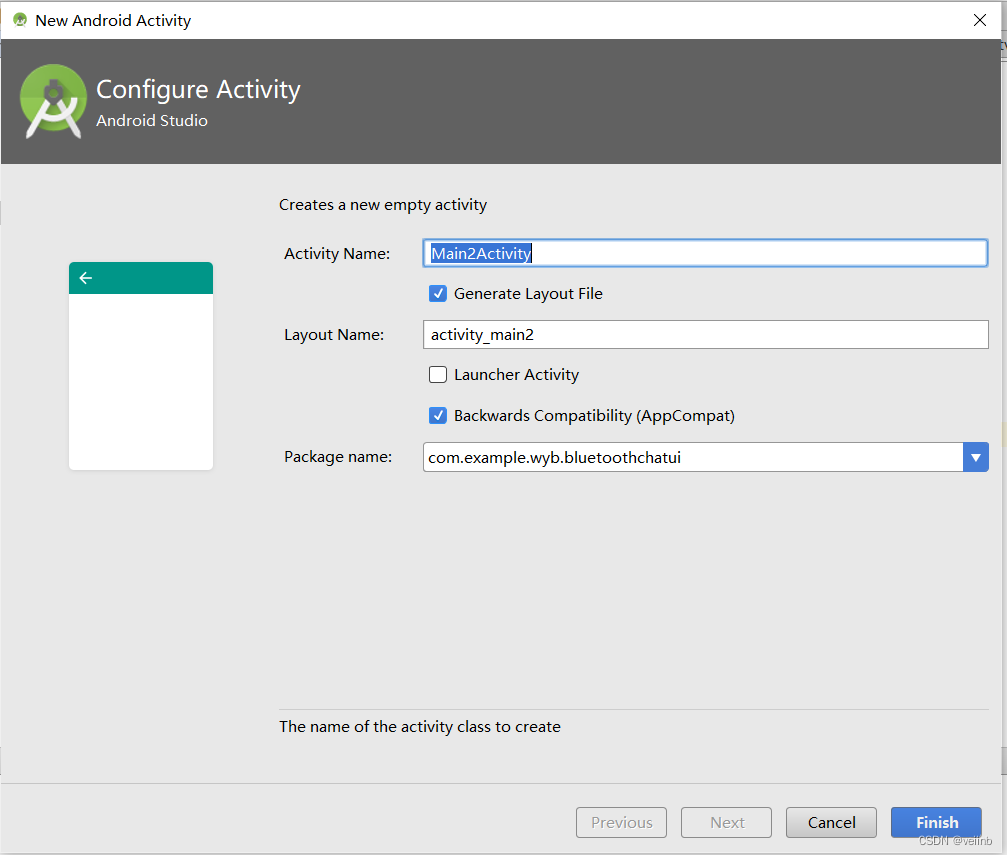
建立一个新的项目并确保“HelloWorld!”程序顺利执行是基础步骤。这相当于打开了一扇门,对初学者来说可能有些挑战。在这个过程中,需要创建包,比如新建一个空白的包,并在其中添加新的类文件.java和.java。这些文件对于存储和展示蓝牙信息至关重要。在调试首个项目案例“HelloWorld”时,可能会遇到问题,不同开发环境下的难题也各不相同。在构建基础框架时,我们必须谨慎行事,以免后续工作出现连环错误。此外,我们还应注重代码的规范性,因为规范的代码有助于后续的修改和优化。
在创建新类的时候,代码的完整复制粘贴这一步骤,同样至关重要,不容许出现任何差错。若不小心输入了错误的字符,就可能引发编译错误,进而产生一系列连锁反应。
package MyClass;
/**
 * Created by WYB on 2023/4/27.
 */
public class DeviceClass {
    private String bName; //蓝牙名称
    private String bAdress; //蓝牙地址
    public DeviceClass(String bName,String bAdress){
        this.bName = bName;
        this.bAdress = bAdress;
    }
    public String getbName(){
        return bName;
    }
    public String getbAdress(){
        return bAdress;
    }
}
控件的自定义样式

ppackage MyClass;
import android.content.Context;
import android.view.LayoutInflater;
import android.view.View;
import android.view.ViewGroup;
import android.widget.ArrayAdapter;
import android.widget.TextView;
import com.example.wyb.bluetoothchatui.R;
import java.util.List;
/**
 * Created by WYB on 2023/4/27.
 */
public class DeviceAdapter extends ArrayAdapter<DeviceClass> {
    private int resourceId;
    public DeviceAdapter(Context context, int textViewResourceId, List<DeviceClass> objects) {
        super(context, textViewResourceId, objects);
        resourceId = textViewResourceId;
    }
    @Override
    public View getView(int position, View convertView, ViewGroup parent) {
        DeviceClass device = getItem(position);
        View view = convertView;
        if (view == null) {
            view = LayoutInflater.from(getContext()).inflate(resourceId, parent, false);
        }
        TextView textView1 = (TextView) view.findViewById(R.id.textView1);
        TextView textView2 = (TextView) view.findViewById(R.id.textView2);
        textView1.setText(device.getbName());
        textView2.setText(device.getbAdress());
        return view;
    }
}
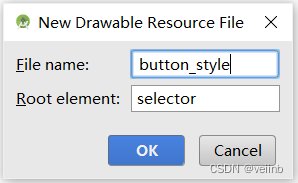
原有发送按键和蓝牙展示菜单显得较为生硬,缺乏个性化设计。为此,我们新建了一个.xml文件。在定制样式时,需兼顾系统兼容和视觉效果。既要确保样式在旧设备上正常显示,又要打造简洁且大方的用户界面。这些.xml文件中的代码编写,涉及界面布局和样式设置等多个方面。我们必须透彻理解每一行代码、每一个样式属性的意义,避免盲目模仿。
若未能充分理解相关属性的含义,所制作的界面效果将大打折扣。这甚至可能导致优化目标难以实现,进而无法为用户提供优质的视觉体验。
<shape xmlns:android=\"http://schemas.android.com/apk/res/android\" >
    <size android:width=\"60dp\" android:height=\"40dp\"/>  //设置长和宽
    <stroke android:width=\"1dp\" android:color=\"#aaaaaa\" ></stroke>  //设置外边框厚度和颜色
    <solid android:color=\"#75b9e6\" />  //设置内色
    <corners android:radius=\"100dp\"/>  //设置圆弧形状的弧度
</shape>
界面一设计主要代码

界面一的设计涉及大量的代码编写。需要新建并编辑“”中的.xml文件,以及后续的.xml和.java文件。这些文件协同工作,共同完成界面一的布局和显示功能。在开发过程中,可能会遇到各种代码问题,比如语法错误和逻辑错误。比如,如果遗漏了一个分号,代码就可能无法正常运行。理解代码结构和不同代码块间的交互,对于提升开发效率、降低错误率至关重要。
<shape xmlns:android =\"http://schemas.android.com/apk/res/android\" android:shape =\"rectangle\" >
    <solid android:color=\"#ffffff\" />
    <corners android:bottomRightRadius =\"8dp\" android:bottomLeftRadius =\"8dp\" android:topLeftRadius =\"8dp\" android:topRightRadius =\"8dp\" />
</shape>
代码的不同部分可能涉及多个知识领域,例如在XML文件中正确使用标签,以及在Java类中编写方法。这些技能的熟练掌握和灵活运用是必不可少的。这一环节对开发者的编程基础能力提出了较高的要求。
界面颜色和显示效果修改
<LinearLayout xmlns:android=\"http://schemas.android.com/apk/res/android\"
    android:layout_width=\"match_parent\"
    android:layout_height=\"match_parent\"
    android:orientation=\"horizontal\">
    <LinearLayout
        android:layout_width=\"150px\"
        android:layout_height=\"180px\"
        android:orientation=\"vertical\"
        android:padding=\"20px\">
        <TextView
            android:layout_width=\"wrap_content\"
            android:layout_height=\"80px\"
            android:text=\"名称:\"
            android:layout_weight=\"1\" />
        <TextView
            android:layout_width=\"wrap_content\"
            android:layout_height=\"70px\"
            android:text=\"地址:\"
            android:layout_marginTop=\"20px\"
            android:layout_weight=\"1\" />
    </LinearLayout>
    <LinearLayout
        android:layout_width=\"wrap_content\"
        android:layout_height=\"180px\"
        android:orientation=\"vertical\"
        android:padding=\"10px\">
        <TextView
            android:layout_width=\"wrap_content\"
            android:layout_height=\"95px\"
            android:id=\"@+id/textView1\"
            android:layout_weight=\"1\"
            android:textColor=\"#000\"
            android:textSize=\"55px\"/>
        <TextView
            android:layout_width=\"wrap_content\"
            android:layout_height=\"60px\"
            android:id=\"@+id/textView2\"
            android:layout_weight=\"1\" />
    </LinearLayout>
</LinearLayout>
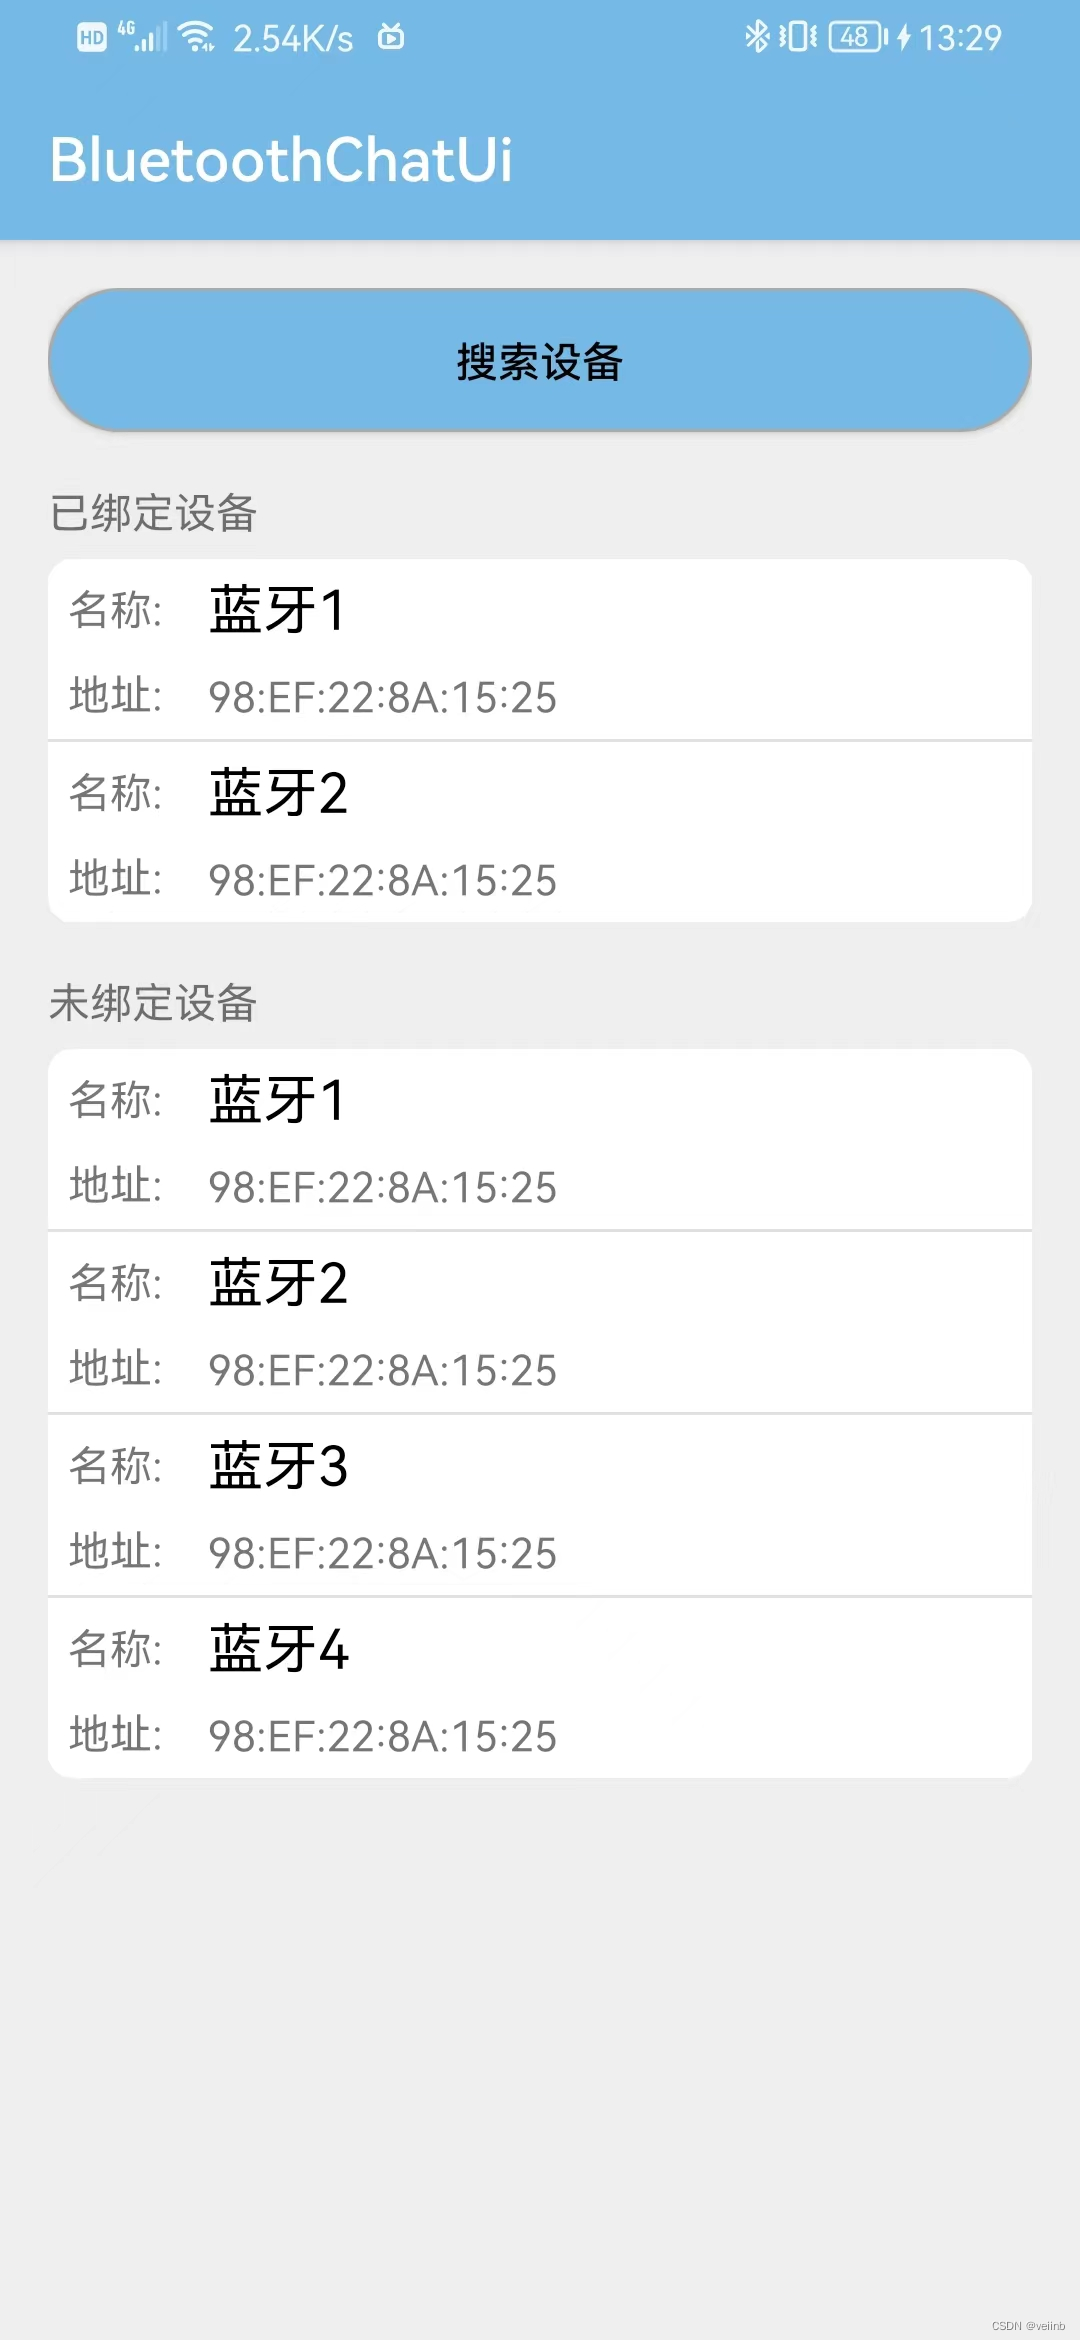
运行界面可能存在颜色搭配不当的情况。遇到这种情况,我们需要打开.xml文件进行修改。在这个过程中,必须格外小心,确保颜色代码的准确性,以免界面变得更加难看。一旦发现运行效果不佳,就要立刻进行调节。比如,如果界面消息框出现变形或拉扯,影响美观,就要及时处理。
<LinearLayout xmlns:android=\"http://schemas.android.com/apk/res/android\"
    xmlns:tools=\"http://schemas.android.com/tools\"
    android:id=\"@+id/activity_main\"
    android:layout_width=\"match_parent\"
    android:layout_height=\"match_parent\"
    android:orientation=\"vertical\"
    android:background=\"#eeeeee\"
    tools:context=\"com.example.wyb.btw3.MainActivity\">
    <Button
        android:text=\"搜索设备\"
        android:layout_width=\"match_parent\"
        android:layout_height=\"wrap_content\"
        android:background=\"@drawable/button_style\"
        android:textColor=\"#000000\"
        android:id=\"@+id/button1\" />
    <TextView
        android:text=\"已绑定设备\"
        android:layout_width=\"match_parent\"
        android:layout_height=\"wrap_content\"
        android:layout_marginTop=\"50px\"
        android:id=\"@+id/textView1\" />
    <ListView
        android:background=\"@drawable/listview_style1\"
        android:layout_width=\"match_parent\"
        android:layout_height=\"wrap_content\"
        android:id=\"@+id/listview2\"
        android:layout_marginTop=\"20px\"/>
    <TextView
        android:text=\"未绑定设备\"
        android:layout_width=\"match_parent\"
        android:layout_height=\"wrap_content\"
        android:layout_marginTop=\"50px\"
        android:id=\"@+id/textView2\" />
    <ListView
        android:layout_width=\"match_parent\"
        android:layout_height=\"wrap_content\"
        android:id=\"@+id/listview1\"
        android:background=\"@drawable/listview_style1\"
        android:layout_marginTop=\"20px\"/>
</LinearLayout>
在这个过程中,我们需要思考,是一步步地细致调整,还是重新审视整体布局。过度的修改可能会带来新的问题,而仅仅进行小范围的修改,又可能无法彻底解决显示上的困扰。
package com.example.wyb.bluetoothchatui;
import android.bluetooth.BluetoothDevice;
import android.content.Intent;
import android.support.v7.app.AppCompatActivity;
import android.os.Bundle;
import android.util.Log;
import android.view.View;
import android.widget.AdapterView;
import android.widget.ListView;
import java.util.ArrayList;
import java.util.List;
import MyClass.DeviceAdapter;
import MyClass.DeviceClass;
public class MainActivity extends AppCompatActivity {
    private DeviceAdapter mAdapter1,mAdapter2;
    private List<DeviceClass> mbondDeviceList = new ArrayList<>();//搜索到的所有已绑定设备保存为列表
    private List<DeviceClass> mfindDeviceList = new ArrayList<>();//搜索到的所有未绑定设备保存为列表
    @Override
    protected void onCreate(Bundle savedInstanceState) {
        super.onCreate(savedInstanceState);
        setContentView(R.layout.activity_main);
        Show_listView();//显示搜索内容
    }
    public void Show_listView(){
        DeviceClass bondDevice;
        DeviceClass findDevice;
        //显示已绑定设备
        for(int i=1;i<3;i++){
            bondDevice = new DeviceClass(\"蓝牙\"+i,\"98:EF:22:8A:15:25\");
            mbondDeviceList.add(bondDevice);
        }
        mAdapter1 = new DeviceAdapter(MainActivity.this, R.layout.device_item, mbondDeviceList);
        ListView listView1 = (ListView)findViewById(R.id.listview1);
        listView1.setAdapter(mAdapter1);
        mAdapter1.notifyDataSetChanged();
        listView1.setOnItemClickListener(toMainActivity2);//设备点击事件,点击设备名称后执行toMainActivity2
        //显示未绑定设备
        for(int i=1;i<5;i++){
            findDevice = new DeviceClass(\"蓝牙\"+i,\"98:EF:22:8A:15:25\");
            mfindDeviceList.add(findDevice);
        }
        mAdapter2 = new DeviceAdapter(MainActivity.this, R.layout.device_item, mfindDeviceList);
        ListView listView2 = (ListView)findViewById(R.id.listview2);
        listView2.setAdapter(mAdapter2);
        mAdapter2.notifyDataSetChanged();
    }
    //点击设备后执行的函数
    private AdapterView.OnItemClickListener toMainActivity2 =new AdapterView.OnItemClickListener(){
        @Override
        public void onItemClick(AdapterView<?> adapterView, View view, int i, long l){
        	/*//Main2Activity是第二个界面的,运行会出错,为了展现目前的效果,对这里先改为注释
            Intent intent = new Intent(MainActivity.this,Main2Activity.class);
            startActivity(intent);
            */
        }
    };
}
添加消息相关类及修改样式
在构建过程中,需添加名为Msg.java的文件以及.java文件,以用于存储和展示消息内容。正确添加代码至关重要。同时,在换行和符号的使用上,必须遵守java的代码规范。此外,对发送按键和输入框进行样式自定义同样关键,否则界面将显得不够生动活泼。

若消息存储与显示的代码出现错误,聊天中的信息可能会出现顺序混乱、无法正常显示等问题,这极大地影响了用户使用蓝牙聊天的功能。此外,若界面设计过于单调,也会让用户的视觉体验和感受大打折扣。
解决运行中的其他问题
<resources>
    <color name=\"colorPrimary\">#75b9e6</color>
    <color name=\"colorPrimaryDark\">#75b9e6</color>
    <color name=\"colorAccent\">#75b9e6</color>
</resources>
构建过程中遇到了一些问题,比如图片文件替换,画完黑线后会产生新的.9.png文件,同时必须删除旧版本的.png文件,否则程序将无法正常运行。这些看似微不足道的小细节,稍不留神就会成为陷阱,导致错误。此外,在整个开发阶段,项目资源的管理至关重要。比如在build.中添加依赖时,必须确保版本号准确无误,并且与其他部分保持兼容。
在打造蓝牙聊天App的用户界面时,你是否曾遭遇过一些难以克服的编程难题?整个开发过程宛如一场充满挑战的探险,每个步骤都需我们倾注心血。愿这篇文章能引起你的关注,并期待你的点赞与转发。